WAC Lighting’s Beauty Spots Recessed Lighting
WAC Lighting’s Beauty Spots Recessed Lighting
I just love these small recessed lighting fixtures! They work in so many areas and they are easy to install on suspended or finished ceilings.
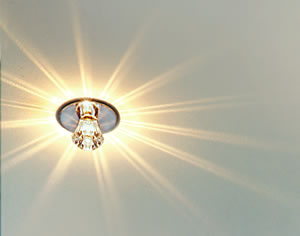
Use just one by itself to create an accent.

Use more scattered randomly. Or group them together to create an artistic “light sculpture” effect. Align them to draw the eye and create a visual flow.

Along with general lighting, they add interest to the ceiling.
Without other lighting, they create a brilliant romantic star-like feeling.
Use one or more strategically placed to draw attention to an architectural feature.
Solid Colored Crystal or Faceted Clear Lead Crystal Diffusers
WAC Lighting’s Beauty Spots are hand-made of optical crystal.
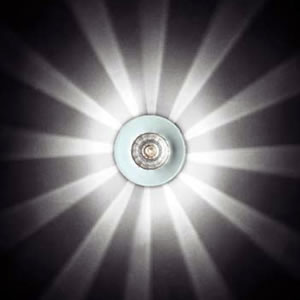
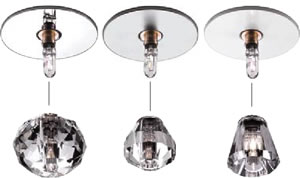
Multi-facetted lead crystal diffusers break light into beautiful patterns. These cut crystal diffusers spill beautiful eye-catching light patterns to create a beautiful effect.
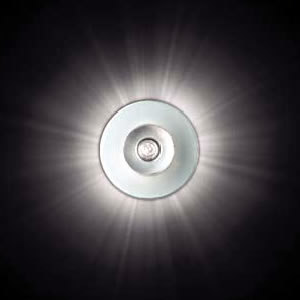
Geometric crystals refract light to create beautiful striations on a surface. Cylindrical and cubical crystal accents create a softer striation of light on the ceiling.
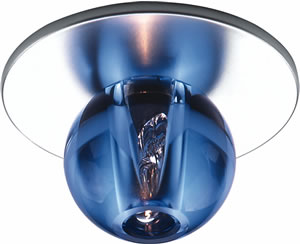
Colored crystal diffusers splash colored light to enhance or contrast with the elements of color within an environment.
All of them are dimmable to set to set the mood by controlling the amount of light.
The basic fixture consists of miniature can for a 2 3/4″ canopy with a socket for a 12 or 24volt, 20 watt xenon (not halogen) lamp.
Canopies require a 2 3/8″ cutout and remote transformer. Several can be wired from a single transformer.
The crystal shades fit over the lamp and are held in place by a spring band on the socket.
Intended for use in ceilings, cabinets and displays. Fixtures use a Xenon (not tungsten halogen) 12V bi-pin lamp 20 watts maximum (24V lamp may be used with 24 volt power supply). Recessed wiring compartment contains a standard size knock out hole that will accept BX or Romex clamps. Fixture is held in place by spring tension against the cut out hole.
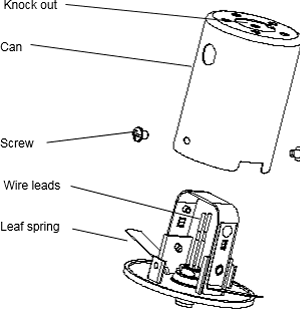
- Run a wire from a remote transformer to the fixture site (use 12 or 24 volt listed transformer, not supplied).
- Cut a 2 3/8” diameter opening on the mounting surface.
- Bring the wire through the hole.
- Loosen the two screws on either side of can to remove and access the socket wires.
- Remove the knock out in the can and install the appropriate wire clamp.
- Connect “output” wires from the transformer to the socket wires with wire nuts provided.
- Tuck wires under the can and re install with the two screws removed earlier.
- Compress the leaf springs on either side of the housing and insert into the cut out hole.
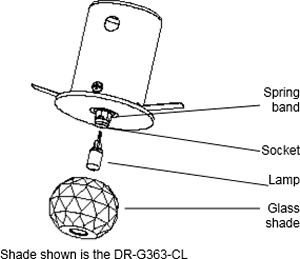
- Use a Xenon (not tungsten halogen) lamp 12 or 24 V (depending on power supply) 20 watts maximum (included).
- Align lamp pins with holes in the socket and gently push in.
- Shades will fit over the lamp and are held in space by a spring band at the base of the socket, simply push on or pull off.
- Shades sold separately. Use shades from the “DR” series.
Discover more from my design42
Subscribe to get the latest posts sent to your email.

